
How to Look Glowing in Wedding Videos
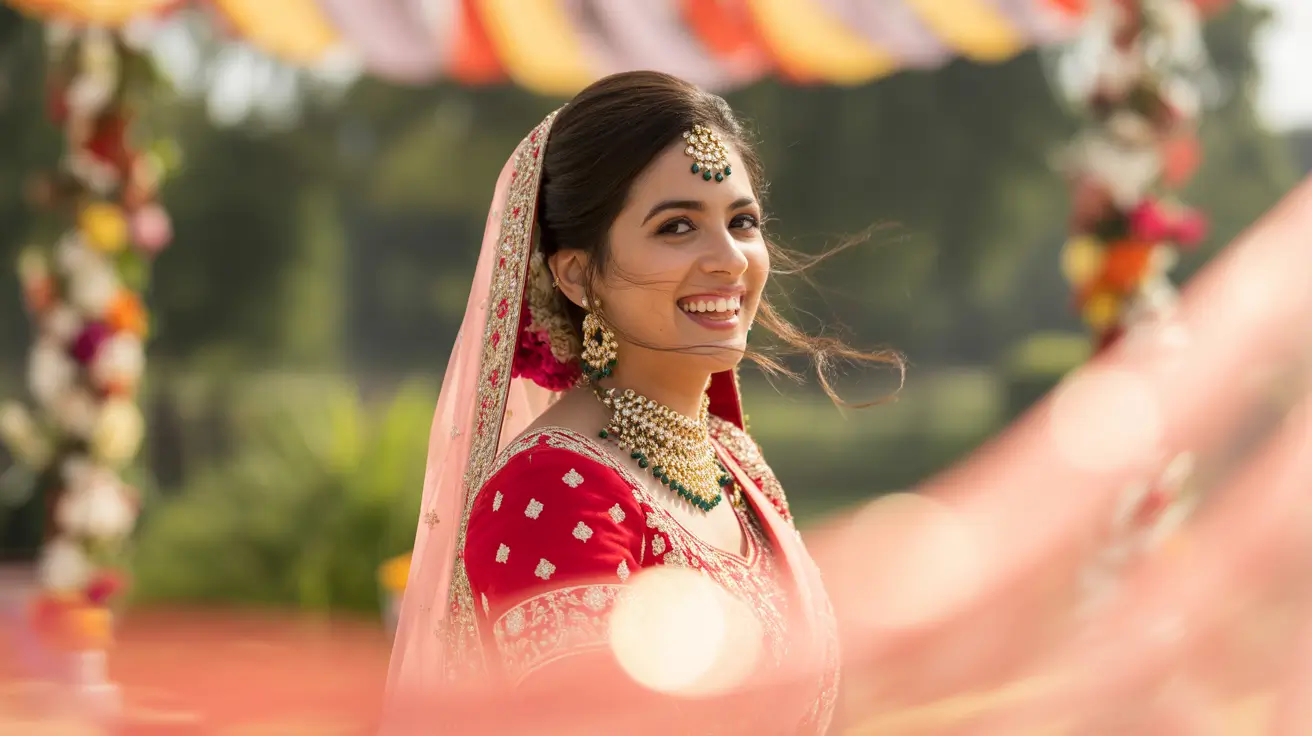
Looking radiant in your wedding video isn’t just about good lighting and angles—it starts with intentional, camera-ready beauty planning. When you’re thinking about bridal makeup for brides, one of the top goals is to achieve that glowing, flawless look that shines on screen without looking greasy or washed out.
In this guide, we’ll walk you through how to glow naturally and effortlessly in your wedding videos. From skin prep to product picks and makeup techniques, everything here is designed to work with high-definition cameras and professional lighting so you look like your most beautiful self from every angle.
Why Glow Matters in Wedding Videos
Cameras Pick Up Everything
Cameras are more detailed than ever. Every shadow, pore, and shimmer gets picked up. The right glow can soften your features, make you look fresh, and bring life to your face. The wrong one can make you look sweaty, shiny, or flat.
Videos Capture Movement
While photos are snapshots, video tells a story. A well-placed glow moves with you. It highlights cheekbones when you turn, adds light to your eyes when you smile, and creates depth as you walk.
It Adds Emotion and Energy
Looking glowing and vibrant can amplify the emotion in a wedding video. You look alive, excited, in love. A radiant face communicates that energy to everyone watching.
Step 1: Skin Prep is Everything
Cleanse and Exfoliate
Great bridal makeup for brides starts with healthy skin. Cleanse with a gentle face wash and exfoliate 2–3 days before your wedding to remove dead skin cells and allow products to sit better on your skin.
Hydrate Deeply
Hydration plumps the skin and reduces texture. Use a lightweight serum followed by a hydrating moisturizer. Don’t forget your neck and chest—they show in most dresses and should glow too.
Prime with Care
Use a radiance-boosting primer that has a soft glow but no glitter. Avoid anything too silicone-heavy that can pill or look too matte.
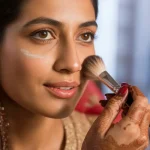
Step 2: Use the Right Foundation
Medium Coverage is Best
A foundation with medium, buildable coverage looks most natural. Full coverage can appear cakey under motion, and light coverage might not hold up under studio lighting.
Dewy but Not Shiny
The best foundations for bridal makeup for brides give a satin or natural finish. You want to reflect light slightly without creating oiliness.
Set with Purpose
Use a translucent setting powder on your T-zone and leave the cheeks and high points free to glow. Too much powder dulls the radiance.
Step 3: Highlighter Done Right
Cream and Liquid First
Apply cream or liquid highlighter before any powder. This gives that lit-from-within effect that looks stunning in video.
Powder for Staying Power
Layer a finely milled powder highlighter on top only where needed. Cheekbones, brow bones, and the cupid’s bow are perfect places.
Avoid Glitter
Glitter reflects light inconsistently on video. Stick to shimmer that blends smoothly and doesn’t emphasize texture.
Step 4: Blush and Bronzer for Dimension
Warm Tones for Warmth
Peachy-pink blushes and golden bronzers work best on camera. They bring back natural warmth to the skin after foundation.
Placement is Key
Blush should go slightly higher on the cheekbones to lift the face. Bronzer should be diffused along the temples, cheeks, and jawline.
Step 5: Eye Makeup that Enhances
Keep It Soft but Defined
You don’t want harsh lines that look too dramatic. Blend eyeshadow well and use brown or soft black liner to define the eyes without overpowering them.
Use Waterproof Mascara
Tears are almost guaranteed. Waterproof mascara is non-negotiable for bridal makeup for brides.
Inner Corner Highlight
A small touch of champagne or pearl shimmer in the inner corners of the eyes brightens the whole look on video.
Step 6: Lips That Last
Start with a Lip Balm
Prepping lips ensures they don’t crack or flake. Hydrated lips look fuller and hold color better.
Line and Fill
Use a lip liner close to your natural tone and fill in the lips to act as a base. Then apply your lipstick. For the most natural glow, opt for satin or soft matte finishes.
Add a Touch of Shine
A dab of gloss in the center of the lips makes them look plump and healthy on camera.
Step 7: Set It Right
Use a Glowy Setting Spray
A setting spray that locks in makeup while adding radiance is a must. Mist the face lightly and let it dry naturally.
Blot Throughout the Day
Keep blotting papers handy. They remove excess oil without disturbing makeup. This keeps your glow intentional, not oily.
Pro Video-Ready Beauty Tips
Test with Lighting
Try your final makeup look under artificial lighting and film it on your phone in HD. This gives you a preview of how it will appear on video.
Don’t Skip the Neck and Chest
Glow shouldn’t stop at your chin. Apply bronzer and highlighter to your collarbones and shoulders for consistency.
Keep Everything in Place
Use long-wear and waterproof formulas wherever possible. Smudges and fading are much more noticeable in motion.


Leave a Reply